External 360 drive finished
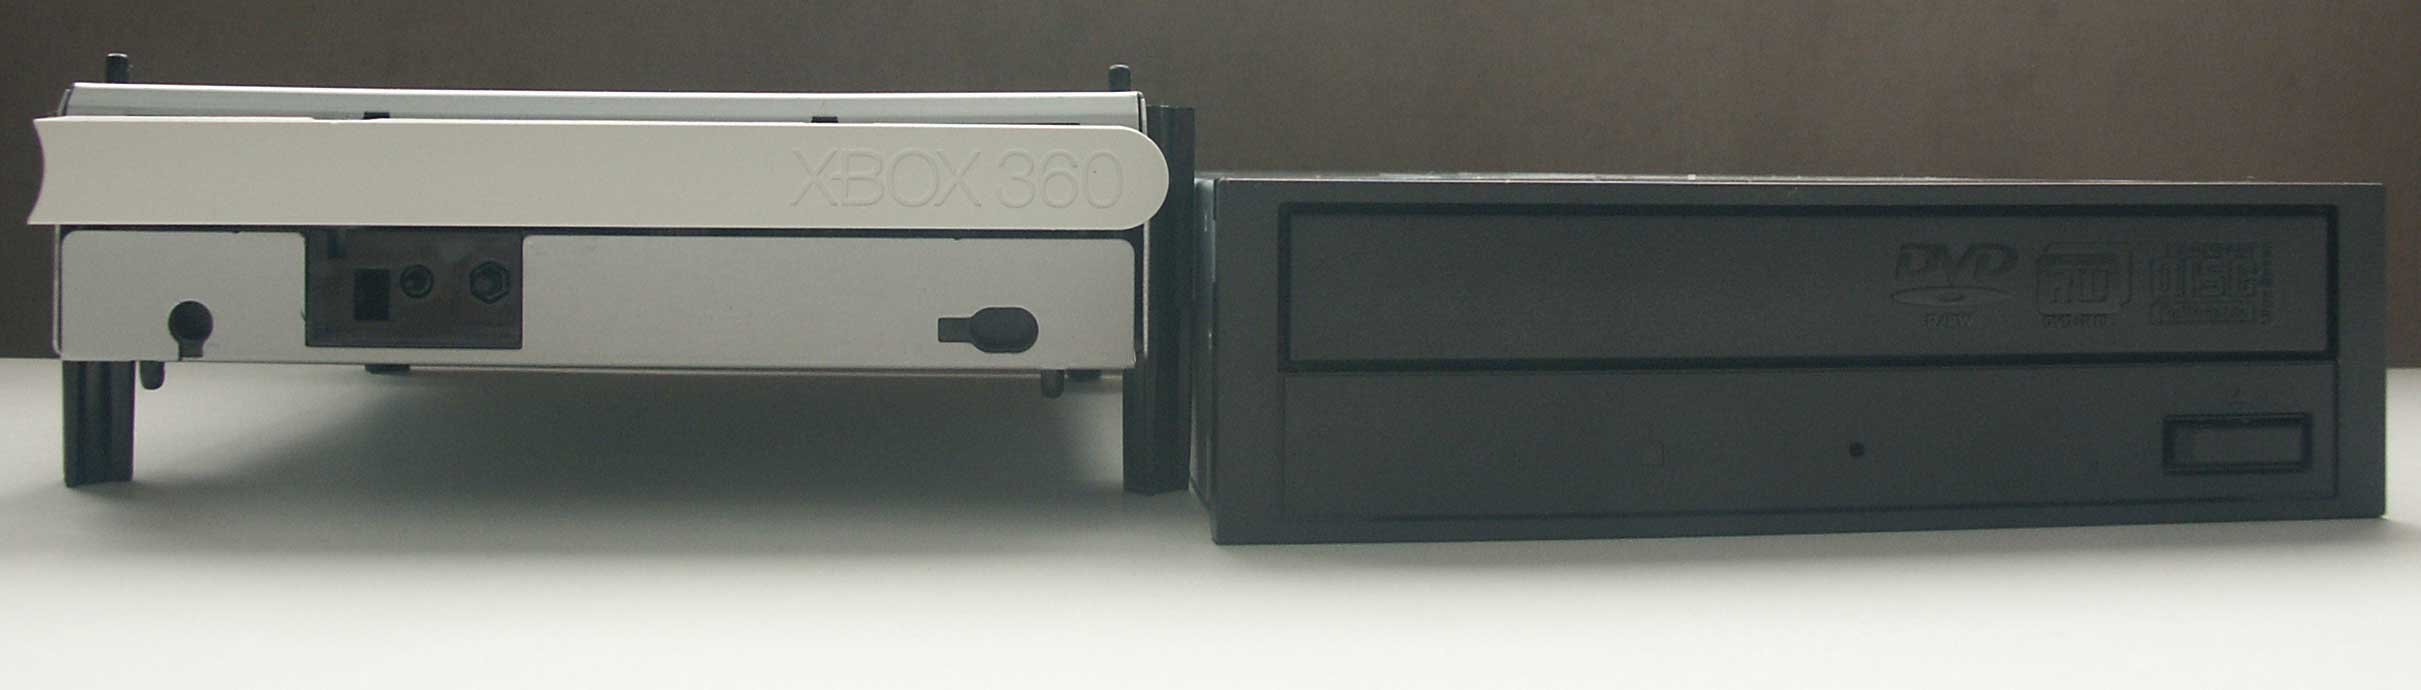
After the thoughts I had earlier I deceided to build the external DVD-drive for the 360. However I didn't use the case I was planning on earlier. Since I couldn't use much of the components and had to cut the legs of the drive to fit in the housing I deceided to build the thing from scratch. So here's the result:
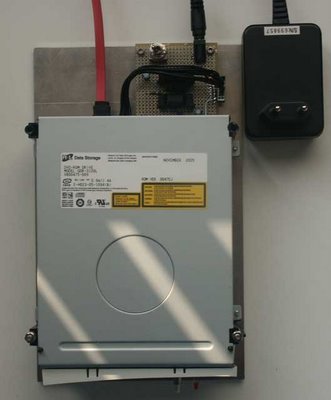
As you can see from the picture above the drive get's its own power. This means the drive can be hooked up to a notebook without the need to get power from the 360. In that case you have to use an USB<->SATA cable as discussed earlier.
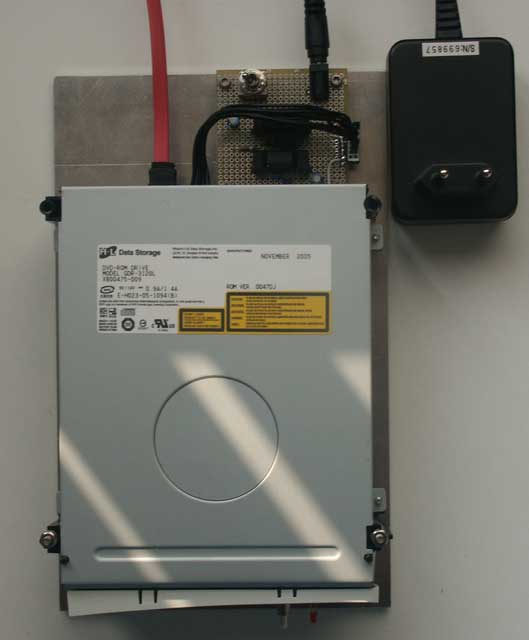
Near the power-socket is the on/off switch. At the front you can see a red led (not burning in the picture) to indicate the on/off-state of the drive. Next to the led is the eject-switch. Here's another picture, this time from the front:

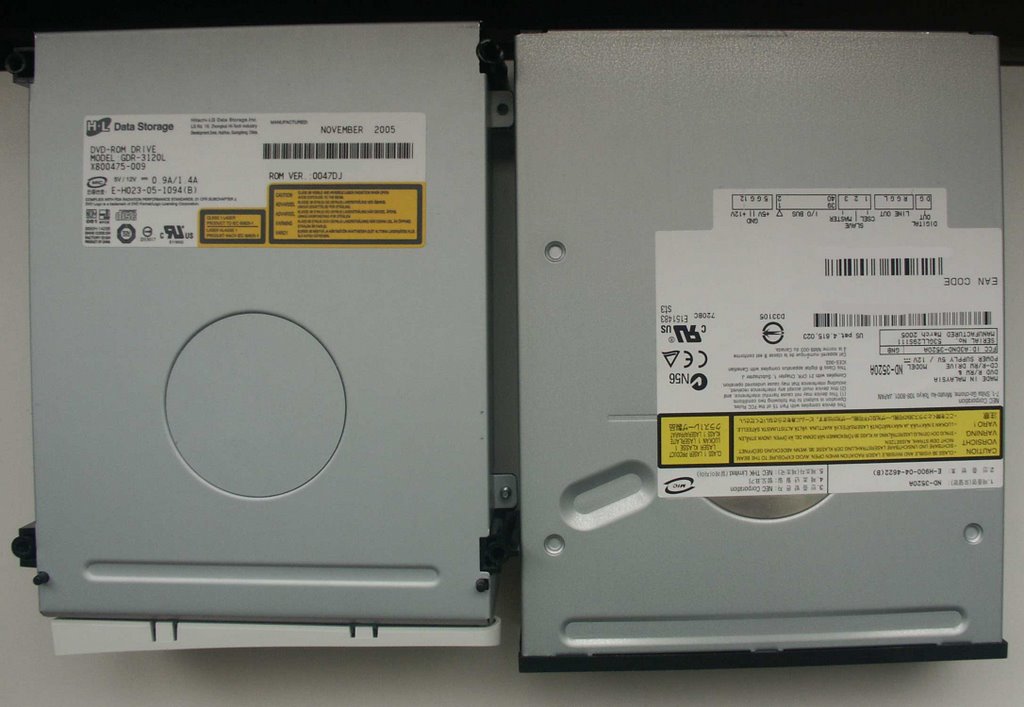
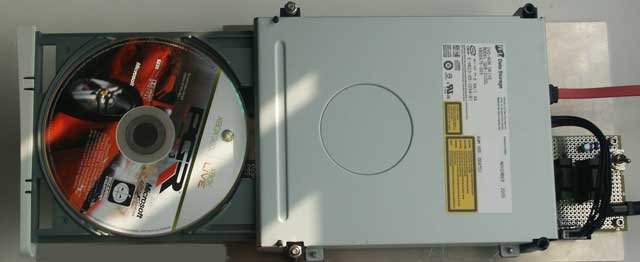
And yet antoher one from the top, this time with open drive:

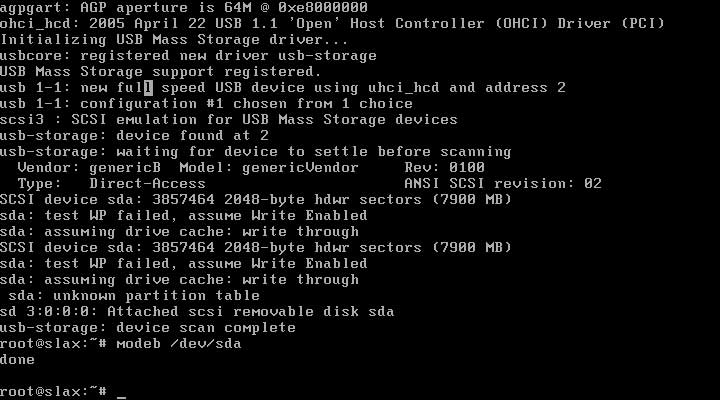
Note the drive itself is totally unaltered. Meaning I can just unscrew it from the board it is placed on right now and put it back in the 360. If you're wondering how I would hook this up to a 360 please read my first post on that subject. Also note I'm using a USB<->SATA adapter to hook the drive up to my PC.
The power-adapter board is heavily based on the "PC power supply to 360 DVD power connector adapter" as described by Kevin East aka SeventhSon.
Another project finished :)
As you can see from the picture above the drive get's its own power. This means the drive can be hooked up to a notebook without the need to get power from the 360. In that case you have to use an USB<->SATA cable as discussed earlier.
Near the power-socket is the on/off switch. At the front you can see a red led (not burning in the picture) to indicate the on/off-state of the drive. Next to the led is the eject-switch. Here's another picture, this time from the front:
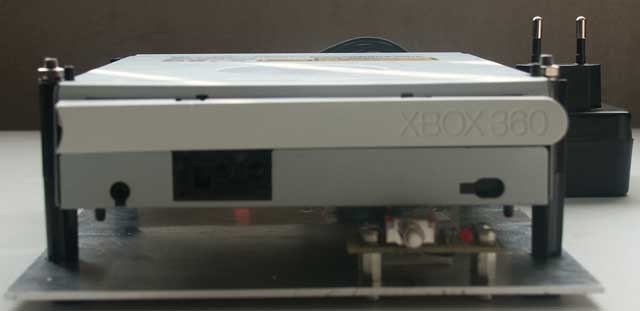
And yet antoher one from the top, this time with open drive:
Note the drive itself is totally unaltered. Meaning I can just unscrew it from the board it is placed on right now and put it back in the 360. If you're wondering how I would hook this up to a 360 please read my first post on that subject. Also note I'm using a USB<->SATA adapter to hook the drive up to my PC.
The power-adapter board is heavily based on the "PC power supply to 360 DVD power connector adapter" as described by Kevin East aka SeventhSon.
Another project finished :)
posted by Utter Chaos at
11:41 PM
|
6 comments
![]()